はじめに
これは 環境構築から始めるテスト駆動開発 ~ プログラミング環境の共通基盤を構築する ~ の開発言語セットアップ記事です。Windows 10 Home で共通基盤が構築されていることを前提としています。
インストール
スタートメニューから Windows PowerShell を選択します。
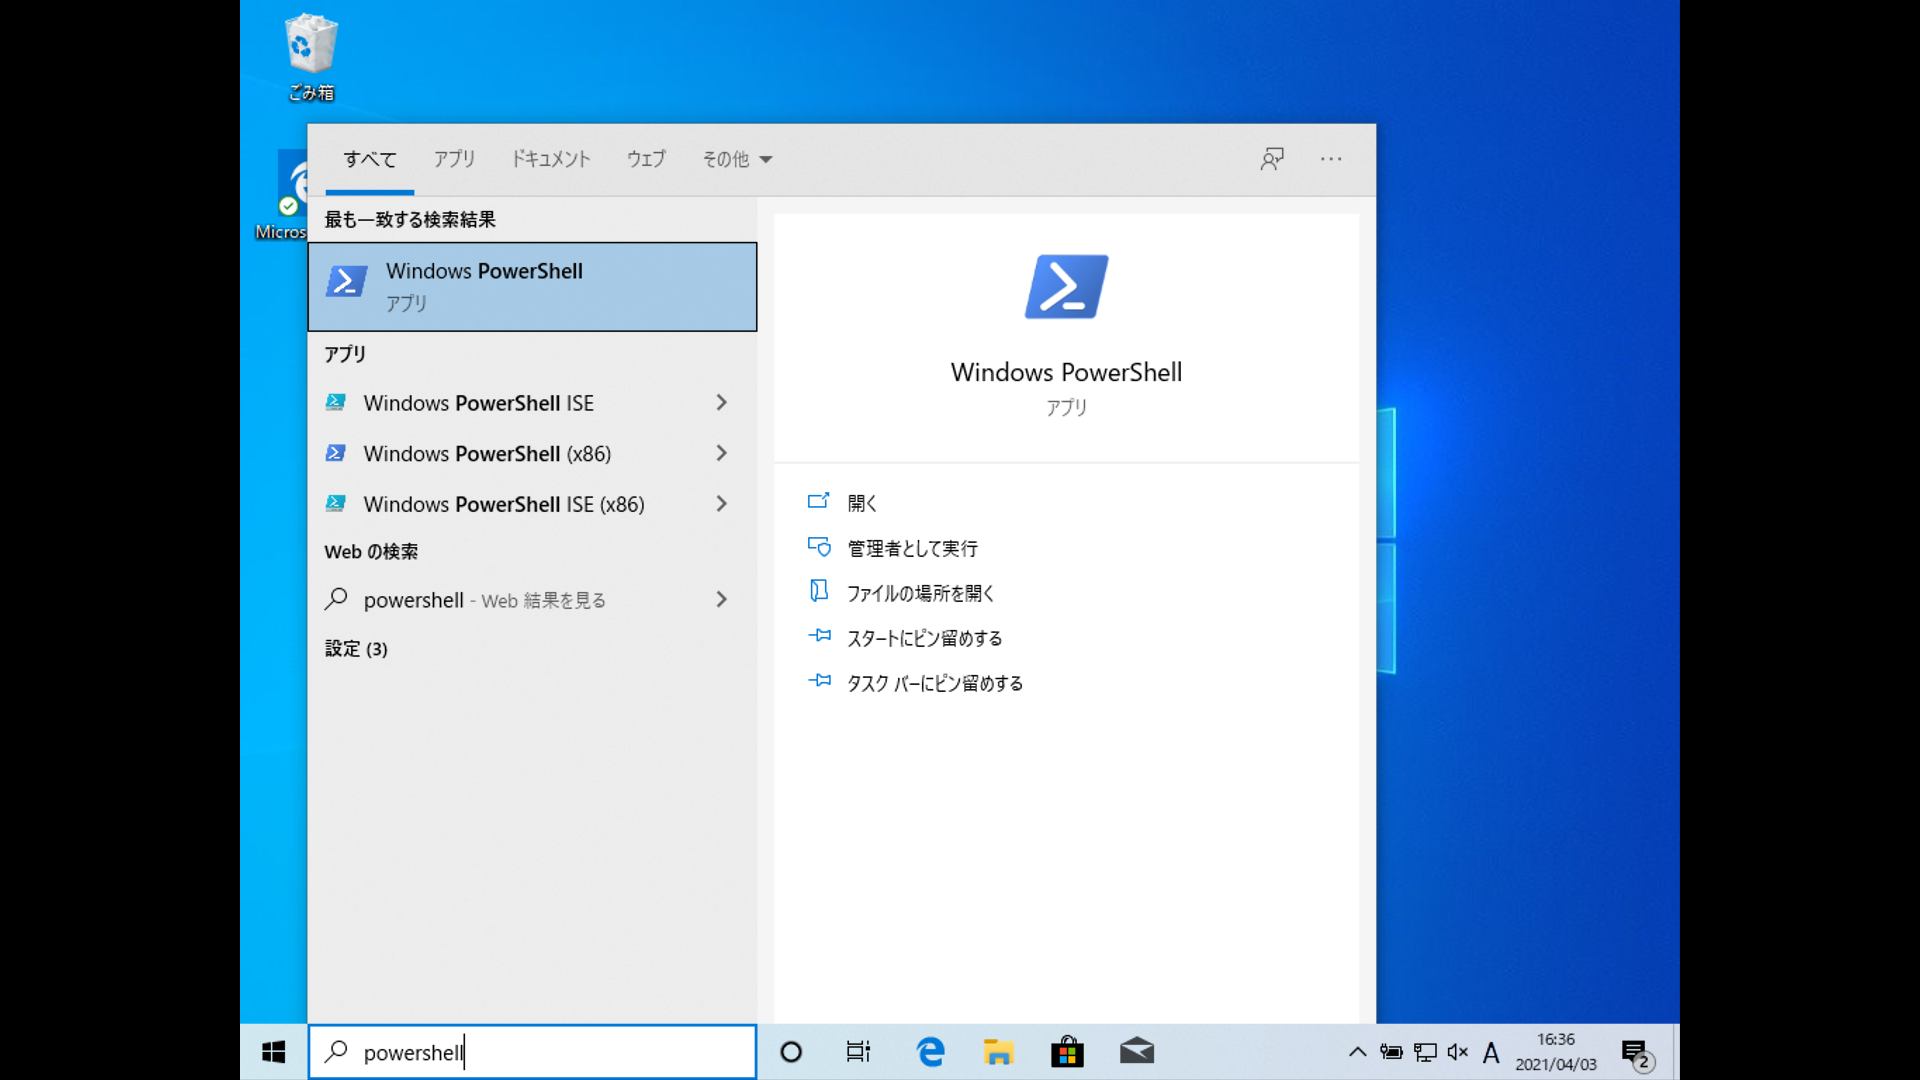
.NET 開発環境をインストールします。
1
| > scoop install dotnet-sdk
|
バージョンを確認しておきます。
1
2
| > dotnet -version
5.0.202
|
Hello world
プログラムを作成する
Projects フォルダ内に dotnet フォルダを作成してエディタからフォルダを開きます。

新しいターミナルを を実行してターミナルに以下のコマンドを入力します。

1
2
3
4
5
6
7
| dotnet new sln -o hello-dotnet
cd hello-dotnet
dotnet new classlib -o Program
dotnet sln add ./Program/Program.csproj
dotnet new xunit -o Program.Tests
dotnet sln add ./Program.Tests/Program.Tests.csproj
dotnet add ./Program.Tests/Program.Tests.csproj reference ./Program/Program.csproj
|
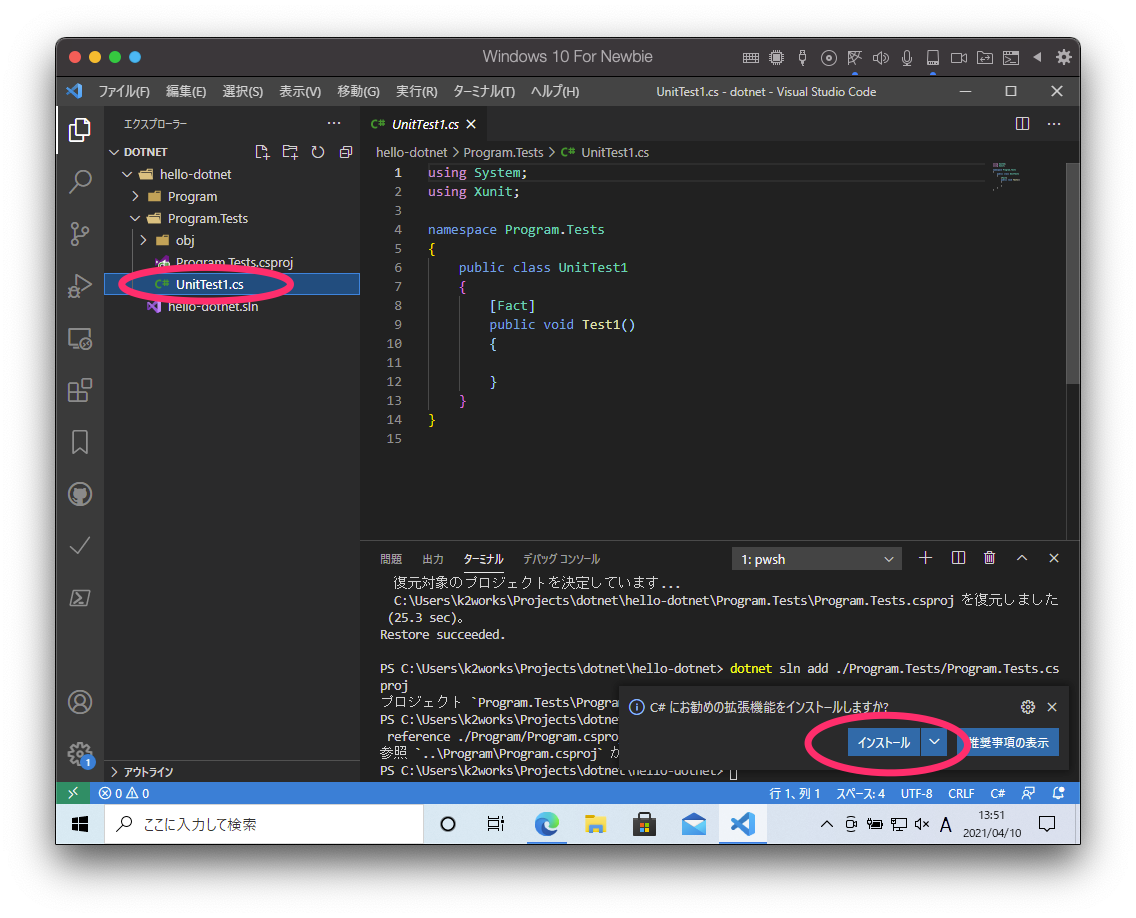
セットアップが完了したら UnitTest1.cs を開きます。
拡張機能インストールの案内が表示されるので インストール を押します。
拡張機能インストールが終わると画面左下に .NET プロジェクト読み込みの確認メッセージが表示されるので Yes を押します。

読み込みが完了したら Run All Tests と表示されるのでそこを押します。

テストが実行されます。

.NET Core Test Explorer 機能拡張を追加します。

機能拡張のインストールが終わったらソリューション内のテストを読み込むためhello-dotnetフォルダを開きます。


サイドメニューの テスト からテストが実行できるようになります。

UnitTest1.cs ファイルを以下のコードに書き換えます。
1
2
3
4
5
6
7
8
9
10
11
12
13
14
| using System;
using Xunit;
namespace Program.Tests
{
public class UnitTest1
{
[Fact]
public void 何か便利なもの()
{
Assert.Equal(true, false);
}
}
}
|
Run All Tests またはサイドメニューの テストから実行ボタンを押してテストを実行します。

テストをパスするようにコードを修正してプログラムを実行します。
1
2
3
4
5
6
7
8
9
10
11
12
13
14
| using System;
using Xunit;
namespace Program.Tests
{
public class UnitTest1
{
[Fact]
public void 何か便利なもの()
{
Assert.Equal(true, true);
}
}
}
|

テスティングフレームワークの動作が確認できたので helloWorld メソッドの作成に入ります。まず以下のコードを追加して テストが失敗することを確認します。
1
2
3
4
5
6
7
8
9
10
11
12
13
14
15
16
17
18
19
20
| using System;
using Xunit;
namespace Program.Tests
{
public class UnitTest1
{
[Fact]
public void 何か便利なもの()
{
Assert.Equal(true, true);
}
[Fact]
public void 簡単な挨拶を返す()
{
Assert.Equal("Hello from .NET", App.helloWorld());
}
}
}
|

App クラスに helloWorld メソッドを 追加してテストをパスさせます。
1
2
3
4
5
6
7
8
9
10
11
12
13
14
15
16
17
18
19
20
21
22
23
24
25
26
27
28
| using System;
using Xunit;
namespace Program.Tests
{
public class UnitTest1
{
[Fact]
public void 何か便利なもの()
{
Assert.Equal(true, true);
}
[Fact]
public void 簡単な挨拶を返す()
{
Assert.Equal("Hello from .NET", App.helloWorld());
}
}
}
class App
{
public static String helloWorld()
{
return "Hello from .NET";
}
}
|

指定された名前で挨拶を返すようにします。
1
2
3
4
5
6
7
8
9
10
11
12
13
14
15
16
17
18
19
20
21
22
23
24
25
26
27
28
29
30
31
32
33
| using System;
using Xunit;
namespace Program.Tests
{
public class UnitTest1
{
[Fact]
public void 何か便利なもの()
{
Assert.Equal(true, true);
}
[Fact]
public void 簡単な挨拶を返す()
{
Assert.Equal("Hello from .NET", App.helloWorld());
}
[Fact]
public void 指定された名前で挨拶を返す() {
Assert.Equal("Hello from VSCode", App.helloWorld("VSCode"));
}
}
}
class App
{
public static String helloWorld()
{
return "Hello from .NET";
}
}
|
メソッドに引数を追加します。
1
2
3
4
5
6
7
8
9
10
11
12
13
14
15
16
17
18
19
20
21
22
23
24
25
26
27
28
29
30
31
32
33
34
| using System;
using Xunit;
namespace Program.Tests
{
public class UnitTest1
{
[Fact]
public void 何か便利なもの()
{
Assert.Equal(true, true);
}
[Fact]
public void 簡単な挨拶を返す()
{
Assert.Equal("Hello from .NET", App.helloWorld());
}
[Fact]
public void 指定された名前で挨拶を返す()
{
Assert.Equal("Hello from VSCode", App.helloWorld("VSCode"));
}
}
}
class App
{
public static String helloWorld(String name)
{
return $"Hello from {name}";
}
}
|

ビルドエラー 'App.helloWorld(string)' の必要な仮パラメーター 'name' に対応する特定の引数がありません が表示されています 簡単な挨拶を返す に対応するメソッドが存在しないのでメソッドをオーバーロードしてテストをパスするようにします。
1
2
3
4
5
6
7
8
9
10
11
12
13
14
15
16
17
18
19
20
21
22
23
24
25
26
27
28
29
30
31
32
33
34
35
36
37
38
| using System;
using Xunit;
namespace Program.Tests
{
public class UnitTest1
{
[Fact]
public void 何か便利なもの()
{
Assert.Equal(true, true);
}
[Fact]
public void 簡単な挨拶を返す()
{
Assert.Equal("Hello from .NET", App.helloWorld());
}
[Fact]
public void 指定された名前で挨拶を返す()
{
Assert.Equal("Hello from VSCode", App.helloWorld("VSCode"));
}
}
}
class App
{
public static String helloWorld()
{
return "Hello from .NET";
}
public static String helloWorld(String name)
{
return $"Hello from {name}";
}
}
|

仕上げに不要なテストを削除してテストケースの文言をわかりやすくしておきます。
1
2
3
4
5
6
7
8
9
10
11
12
13
14
15
16
17
18
19
20
21
22
23
24
25
26
27
28
29
30
31
32
| using System;
using Xunit;
namespace Program.Tests
{
public class UnitTest1
{
[Fact]
public void 何も指定されていない場合は既定の挨拶を返す()
{
Assert.Equal("Hello from .NET", App.helloWorld());
}
[Fact]
public void 指定された名前で挨拶を返す()
{
Assert.Equal("Hello from VSCode", App.helloWorld("VSCode"));
}
}
}
class App
{
public static String helloWorld()
{
return "Hello from .NET";
}
public static String helloWorld(String name)
{
return $"Hello from {name}";
}
}
|

プログラムをデバッグする
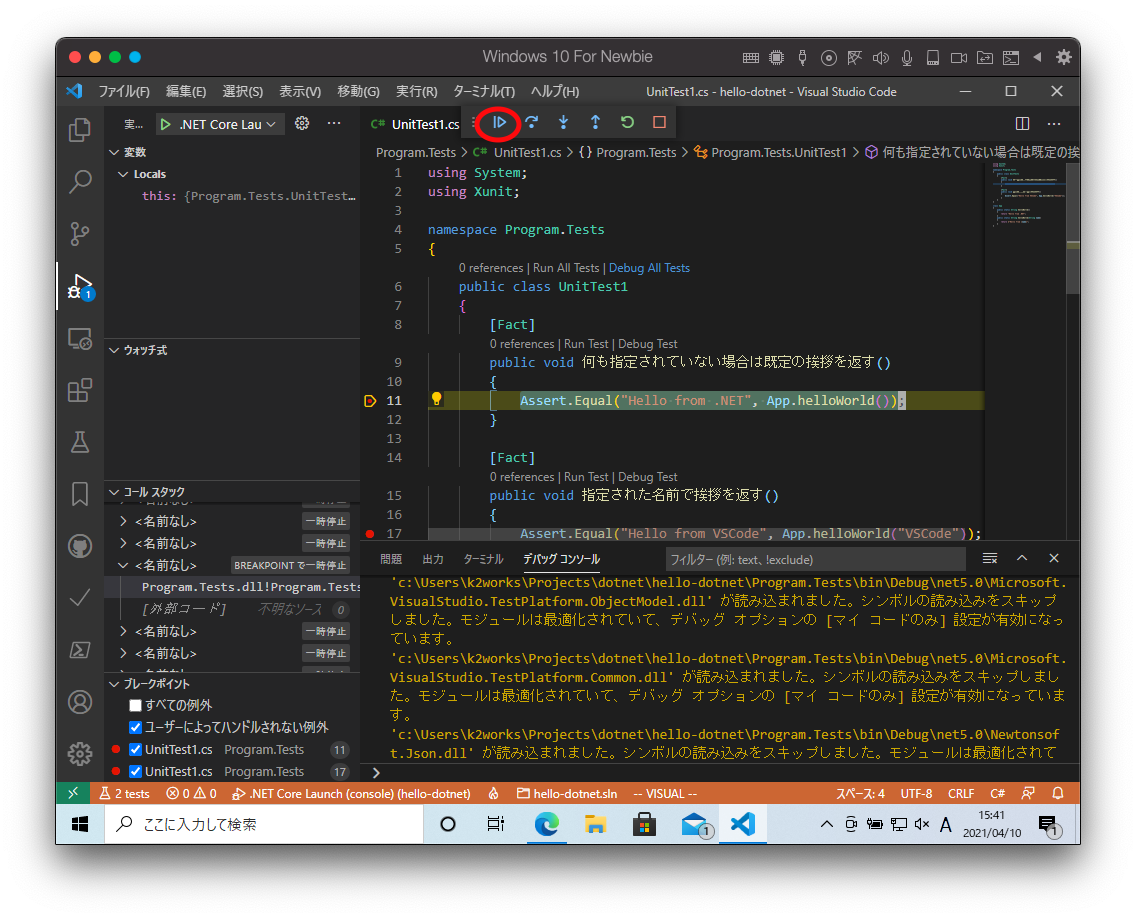
まず確認したいプログラムの行を左部分を押してブレークポイント(赤丸)を設定します。

ブレークポイントを設定したら Debug All Tests を押してプログラムの実行します。そうするとブレークポイント部分でプログラムが停止して変数などの情報が確認できるようになります。

画面上の実行ボタンを押すと次のブレークポイントに移動します。
デバッガを終了するには終了ボタンを押します。
ブレークポイントを再度押すことで解除ができます。

プログラムをリポジトリに保存する
新しいターミナル を実行して以下のコマンドを入力します。
ソース管理を選択して リポジトリを初期化する を押します。
全ての変更をステージ を選択します。

変更内容に feat: HelloWorld と入力して コミット を押します。

変更内容は ソース管理 から確認できます。

GitHub に公開する
続いて、GitHub を使ってレポジトリを外部に公開できるようにしてみましょう。
まず、GitHub でレポジトリを作成します。
ログインしたら画面右上の+マークから New repository を選択します。

レポジトリ名は hello-dotnet として Public で公開します。 公開したくない場合は Private を選択します。
Add a README file にもチェックを入れておきます。
最後に Create repository を押して公開レポジトリを作成します。

公開レポジトリが作成されたら VSCode から読み込めるようにするためリンク先の情報を取得します。

クリップボードのアイコンをクリックするとレポジトリの URL がコピーできます。

続いて VSCode に戻り、表示 メニューから コマンドパレット を選択します。

clone と入力して Git クローン を選択します。

リポジトリの URL へ先ほどコピーした公開レポジトリの URL を貼り付けます。

公開レポジトリの保存場所を指定する必要があるのでここでは Projects フォルダに GitHub フォルダを追加してそこに保存することにします。

チェックアウトが終わると画面左下に通知が出ますので 開く を押します。

新しいターミナル を実行して以下のコマンドを入力します。
1
2
3
4
5
6
7
8
9
| $var = "Program"
$var_test = ${var} + "." + "Tests"
dotnet new gitignore
dotnet new sln -o .
dotnet new classlib -o ${var}
dotnet sln add ./${var}/${var}.csproj
dotnet new xunit -o ${var_test}
dotnet sln add ./${var_test}/${var_test}.csproj
dotnet add ./${var_test}/${var_test}.csproj reference ./${var}/${var}.csproj
|
準備ができましたので先ほどやった HelloWorld プログラムをもう一度作成して先ほどと同様にローカルレポジトリに保存します。

ローカルレポジトリの内容を GitHub の公開レポジトリに登録します。表示 メニューから コマンドパレット を選択します。

push と入力して Git プッシュ を選択します。
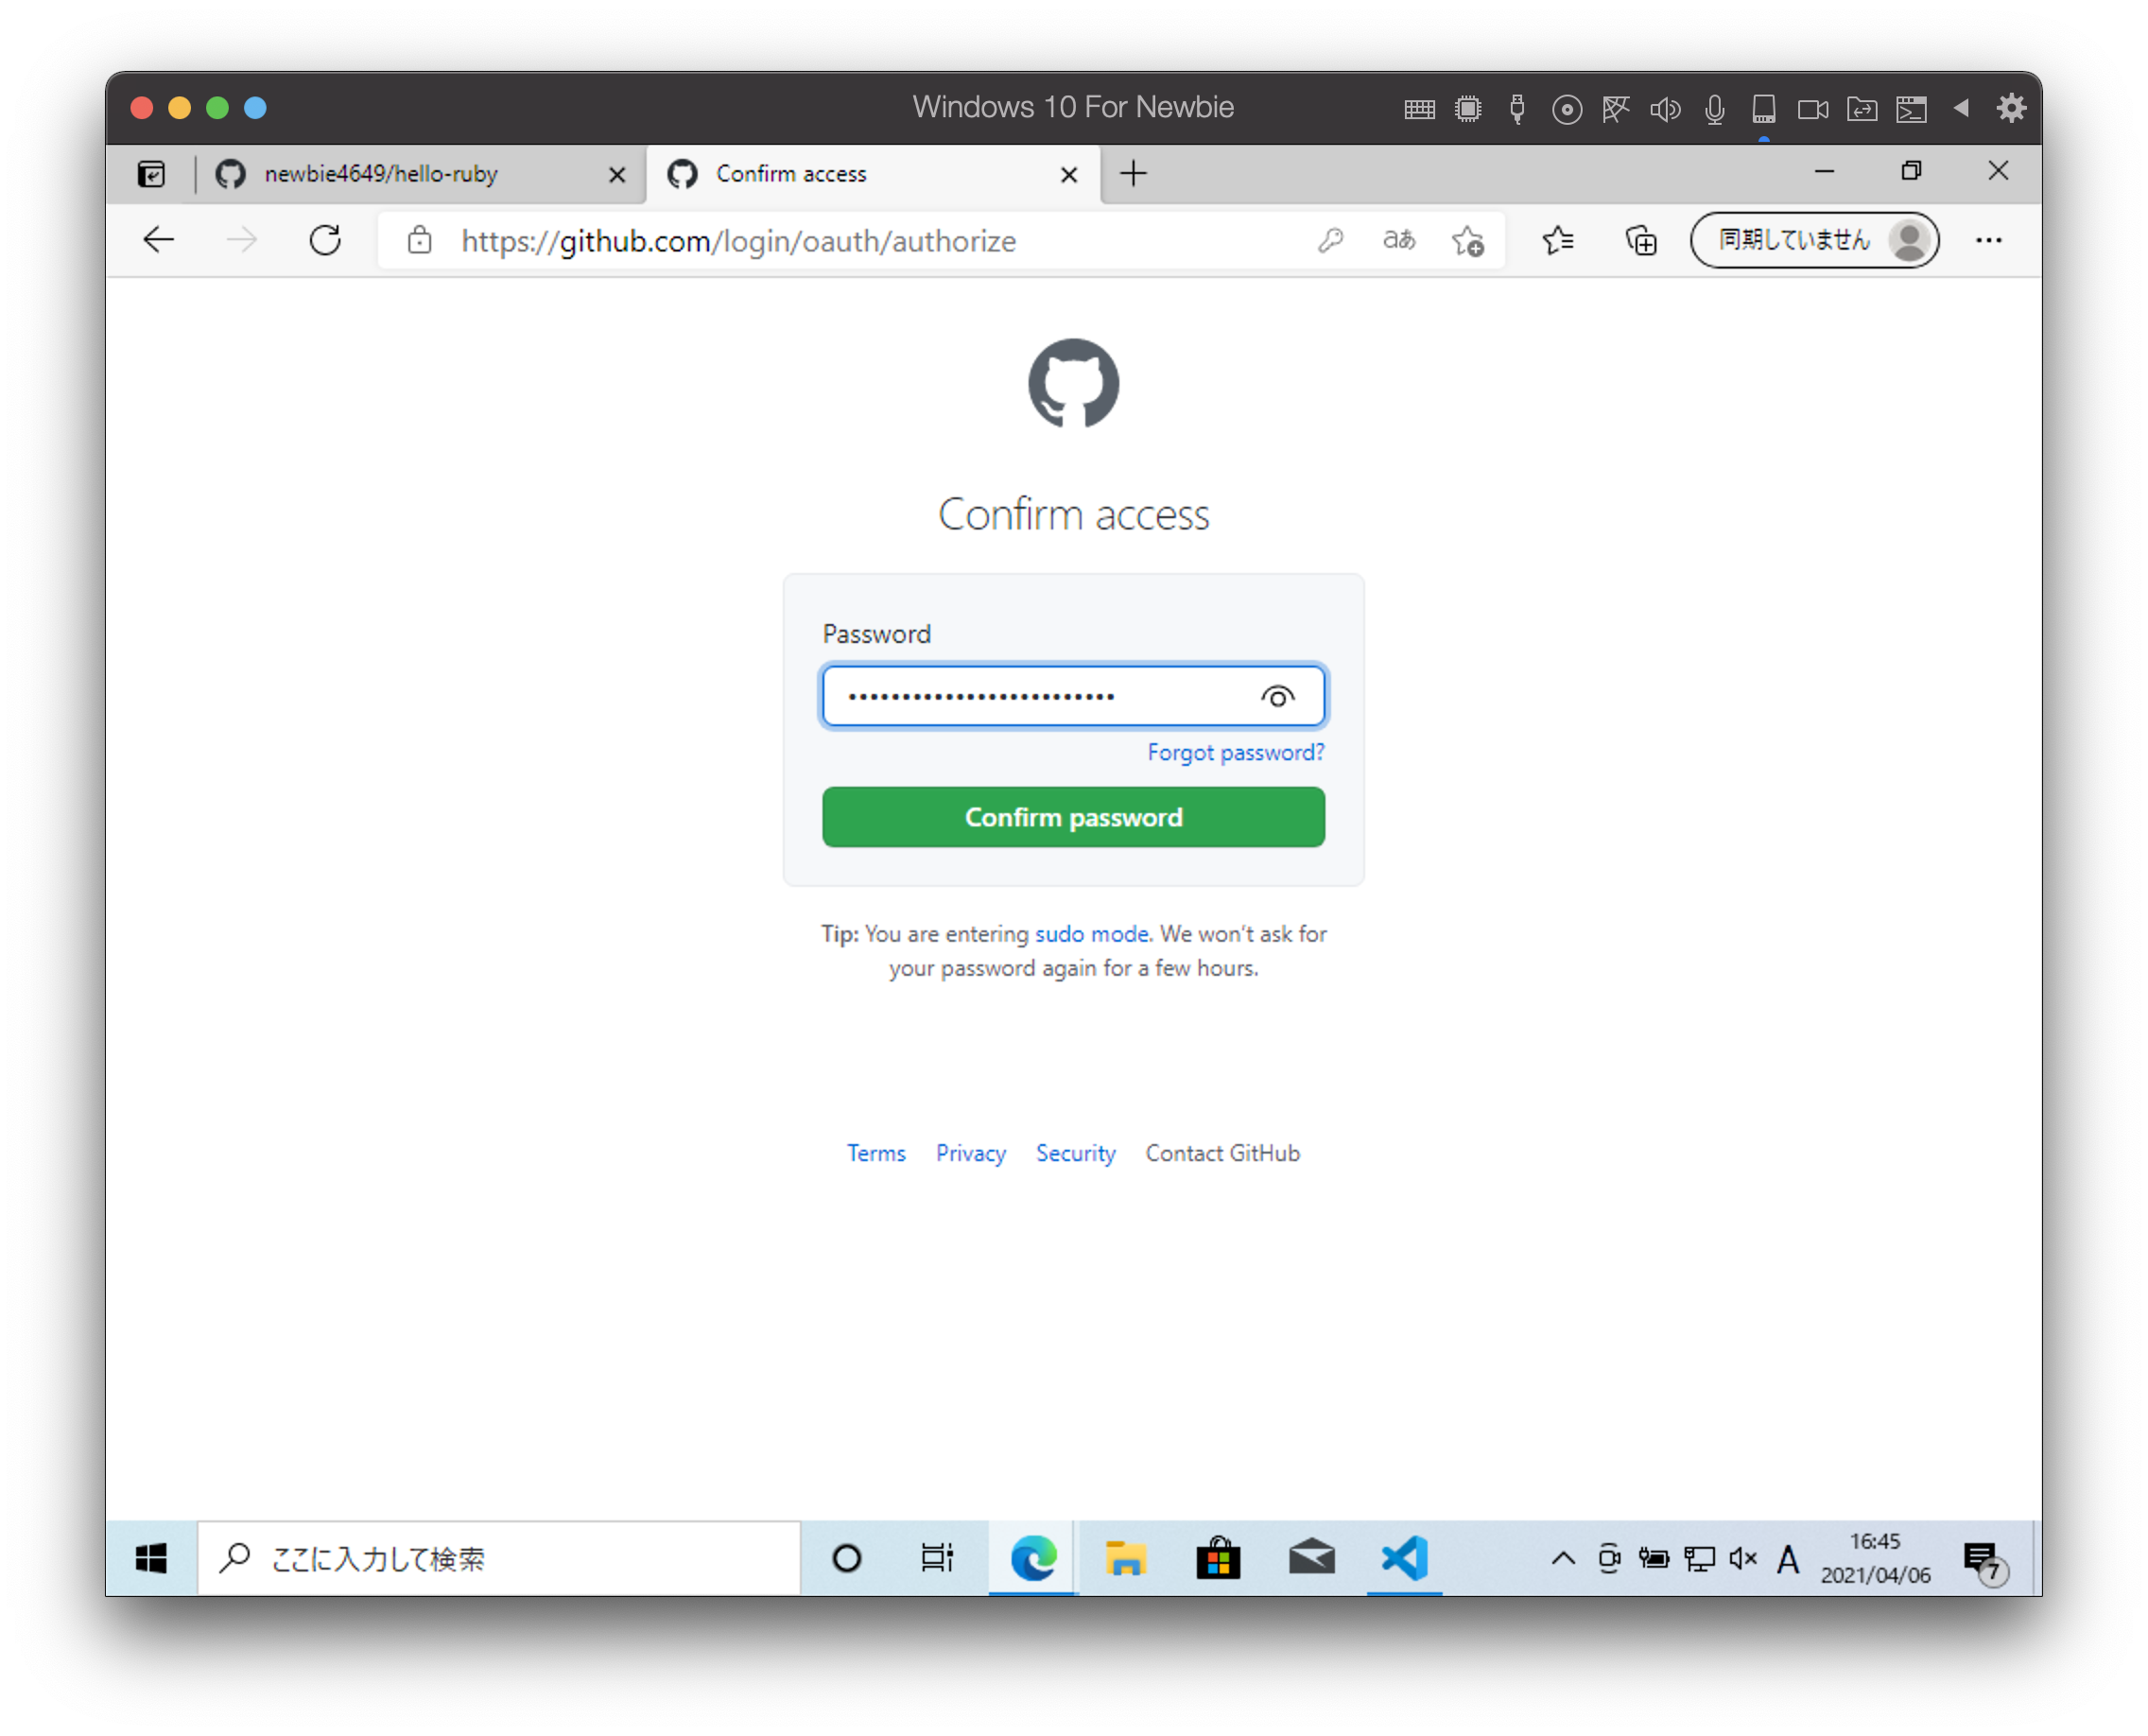
以下の GitHub 認証画面が表示された場合は Sign in with your browser を押します。

Authorize GitCrendtialManager を押します。

GitHub アカウントのパスワードを入力します。
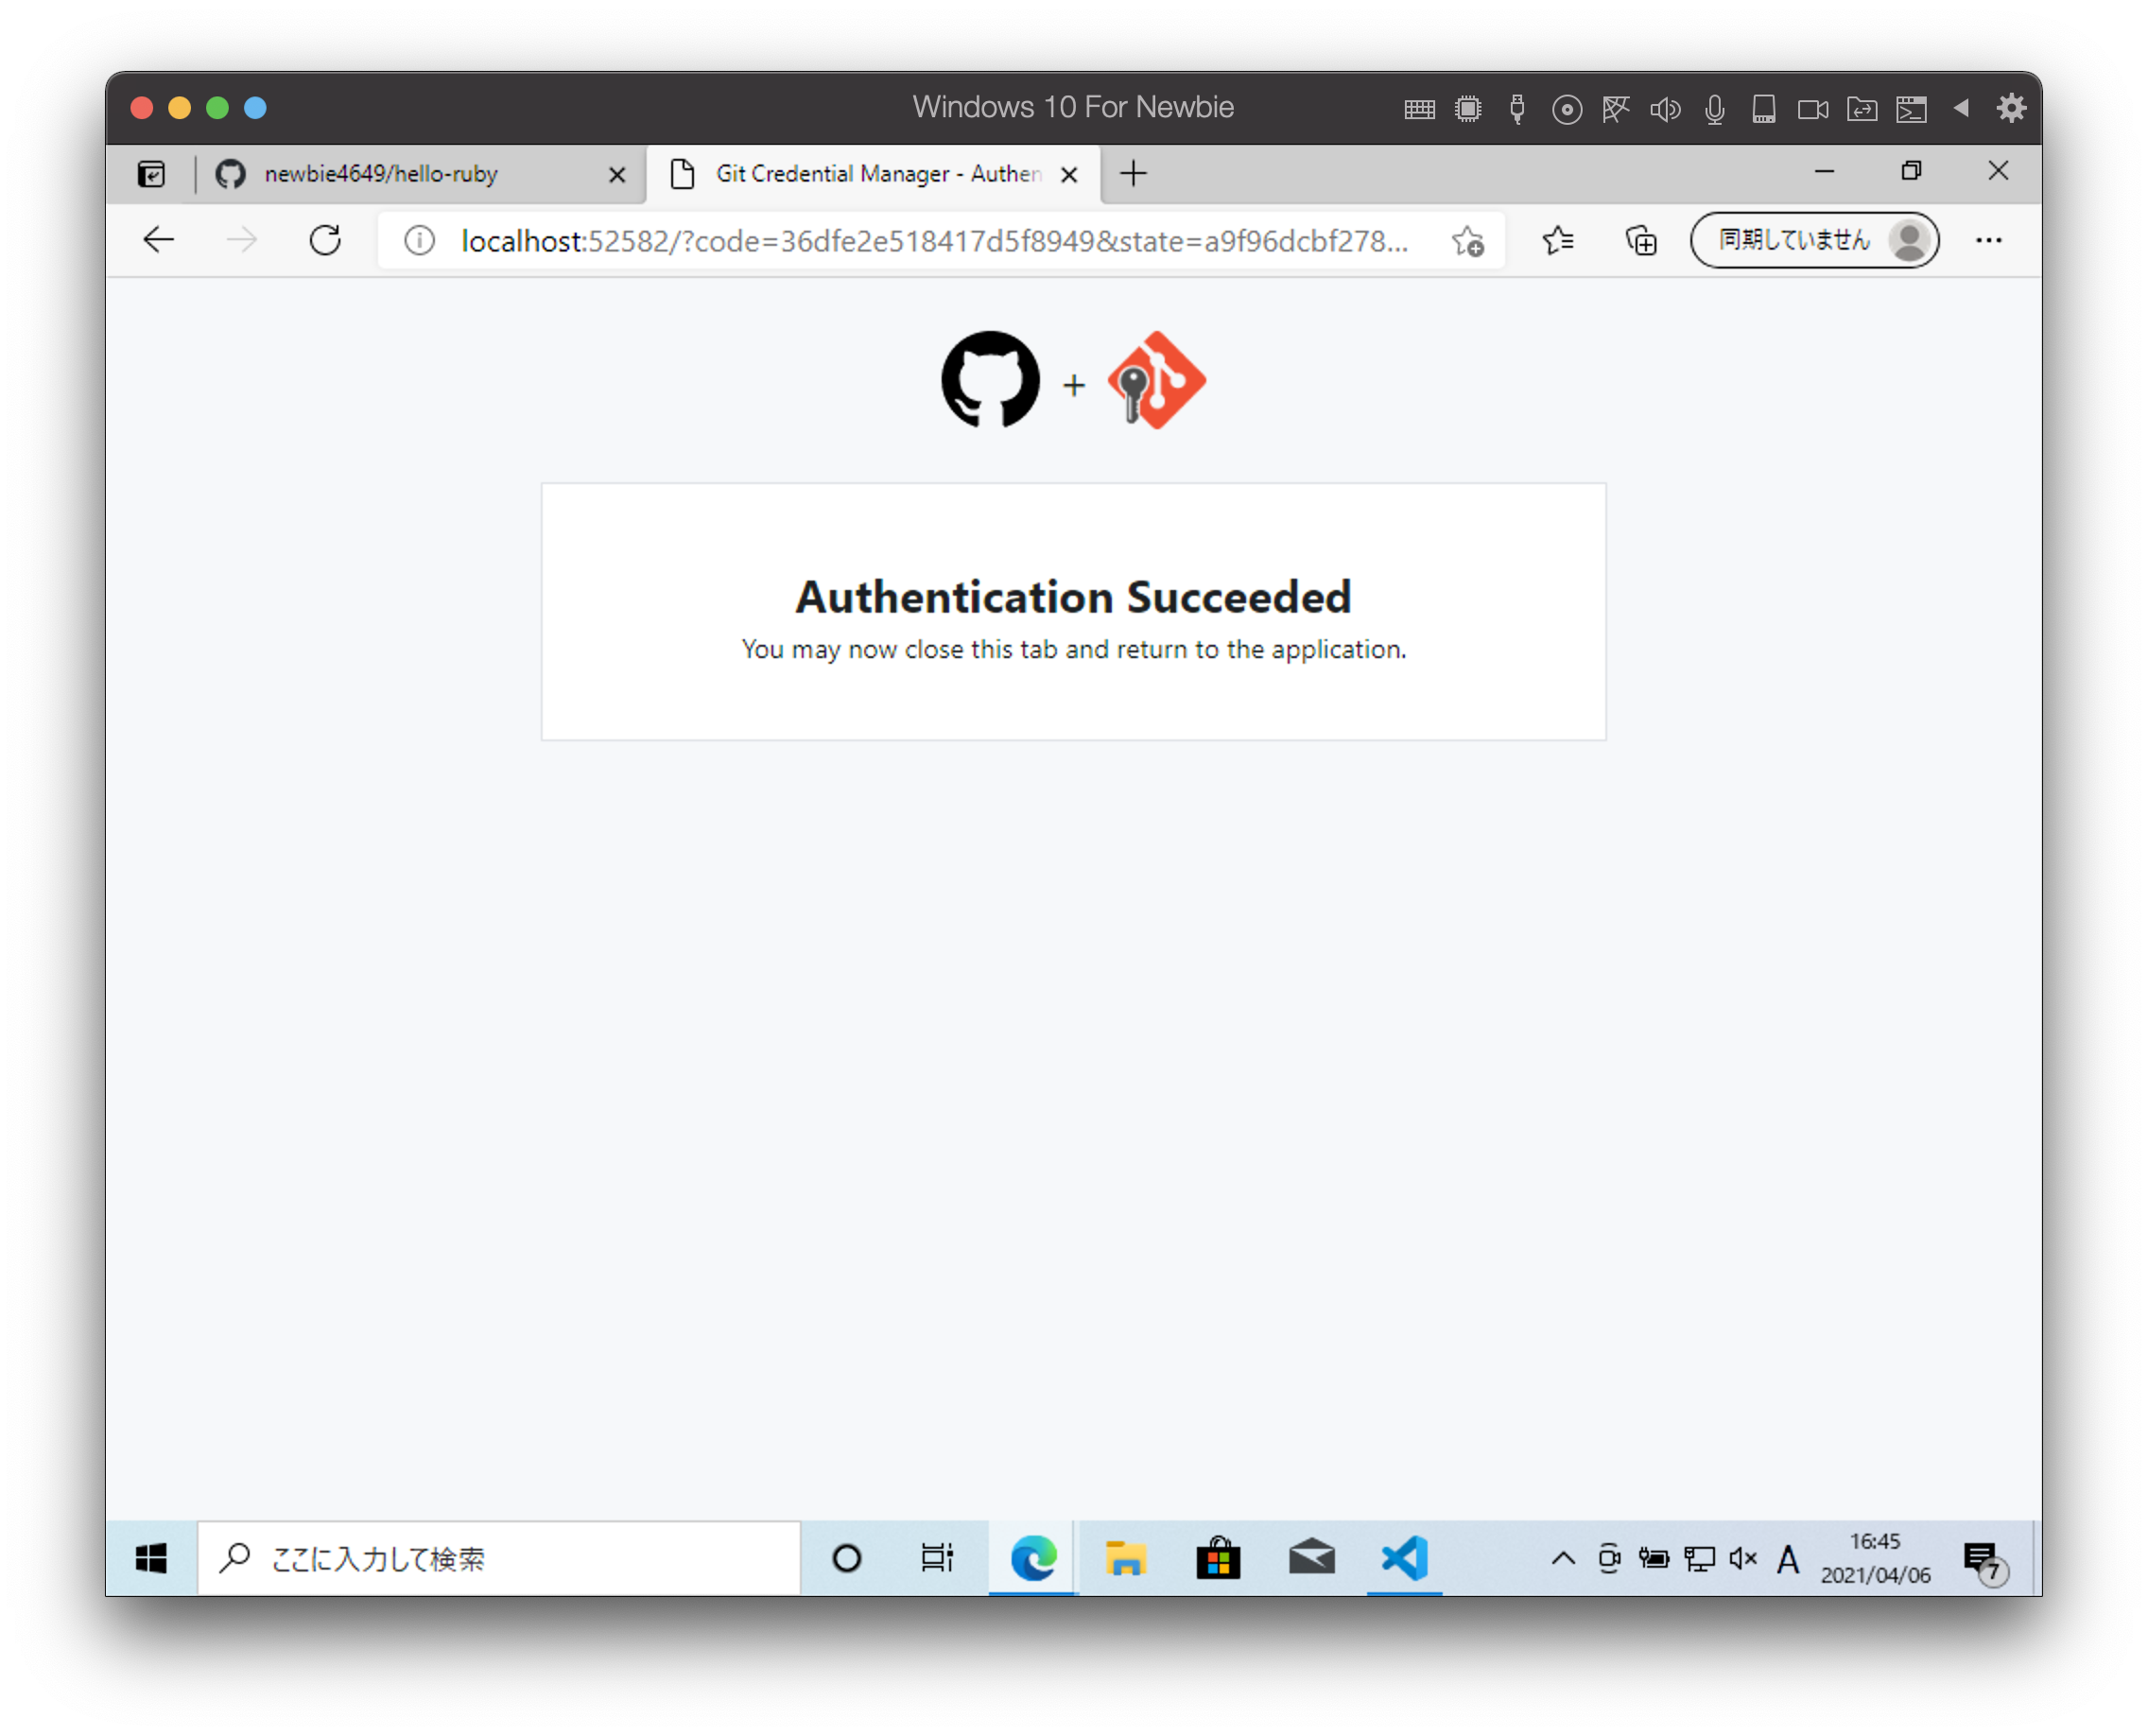
認証が完了してローカルレポジトリの内容が公開レポジトリに登録されました。

内容が反映されているかをブラウザ画面から確認します。

